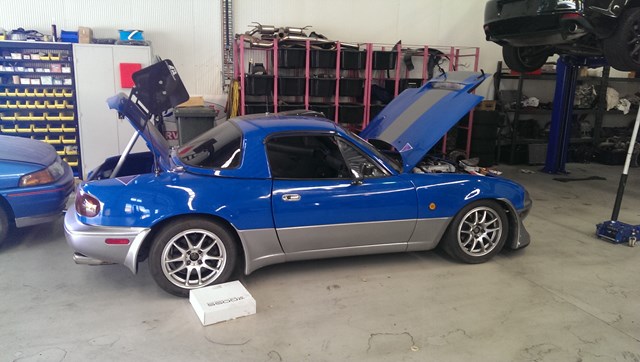
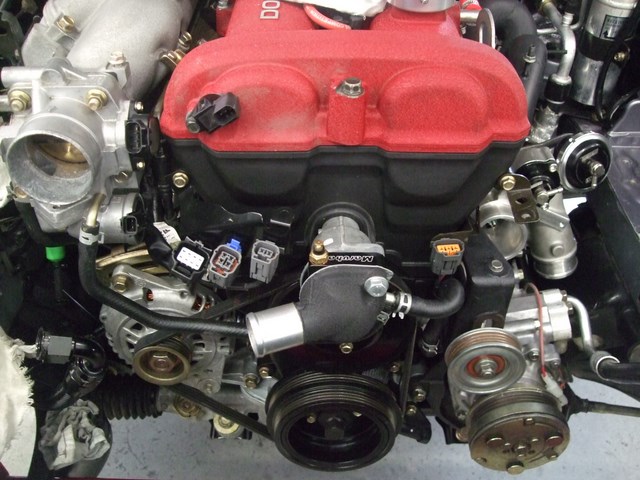
Originally posted by Lokiel, Sun Sep 24, 2017 4:32 pmOriginally posted by Lokiel, Sun Feb 02, 2014 11:02 pm[Picked up my car from MX5 Plus on Saturday - WooHoo! Now I just have to run the engine in

I had the power steering deleted, despite Jason's constant "Do you really want to do that?" and "You know that it's not easily reversible?" comments. There's definitely no way I can say I wasn't warned.
The main reason I wanted to do it was to free up space in the engine bay since it was very tight in there with the new turbo and most guys who get it done prefer the feedback on the track.
It's definitely not as hard to manoeuvre at low speeds as I feared, it does take more effort to turn, even at speed, and you really can feel the tyre grip on the turns. There's a large (+fast in an MX5) roundabout on my way home to get onto the airport freeway and I could really feel how sticky the tyres were - power steering numbs this sensation massively.
The OS Giken clutch is taking some getting used to, it's heavier than the OEM clutch but definitely not "heavy duty clutch" heavy, and is not as forgiving as the OEM clutch - I stalled it twice on the way home.
These two modz alone make the car feel completely different.
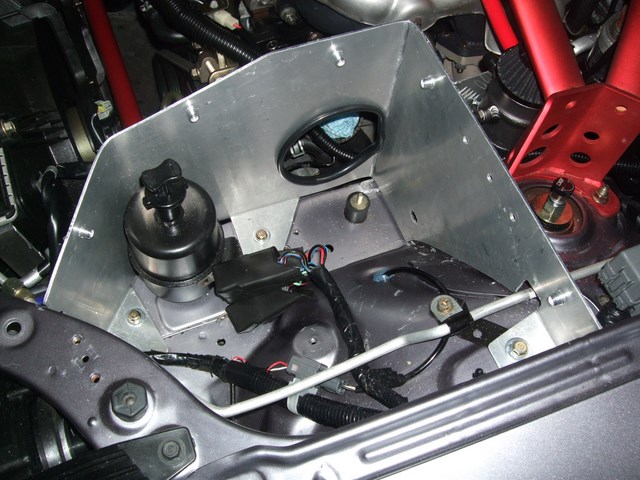
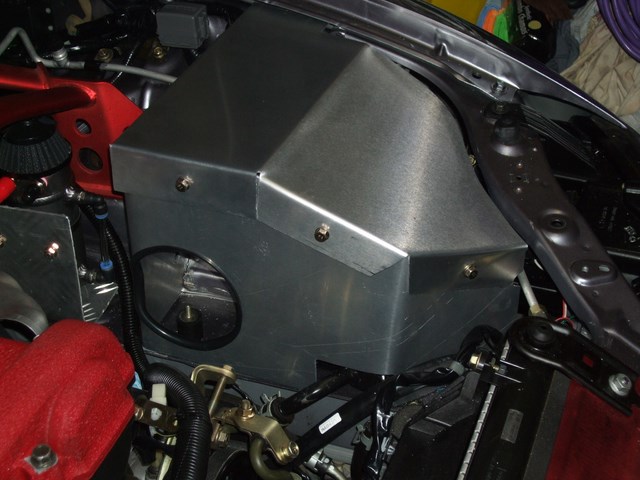
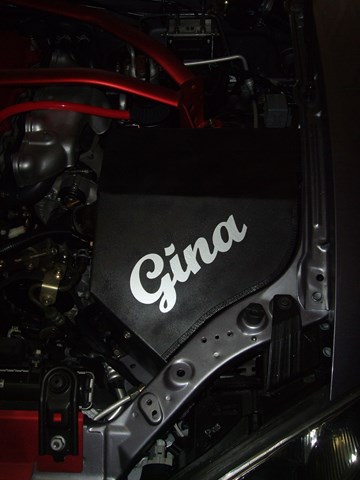
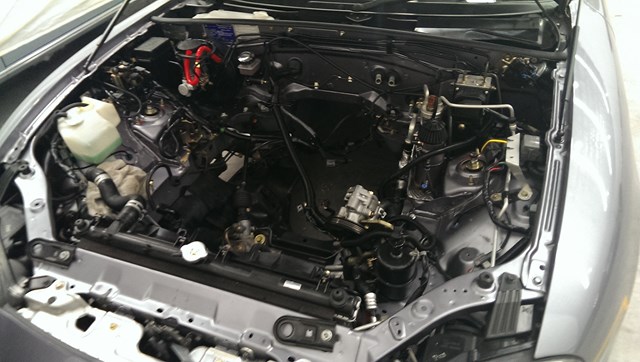
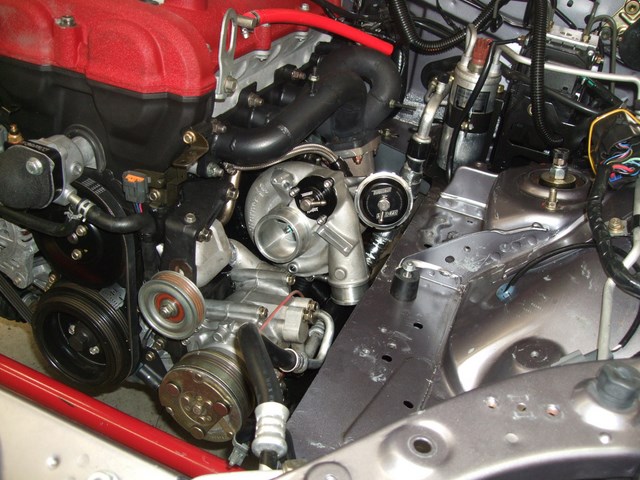
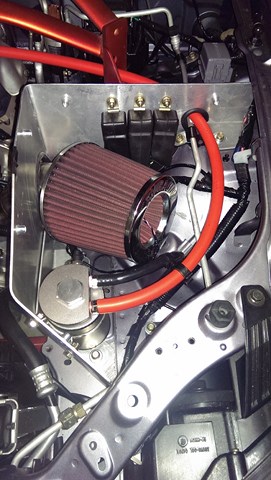
My plan was always to move the oil catch can inside the Cold Air Box and with the Power Steering reservoir removed, there is now room.
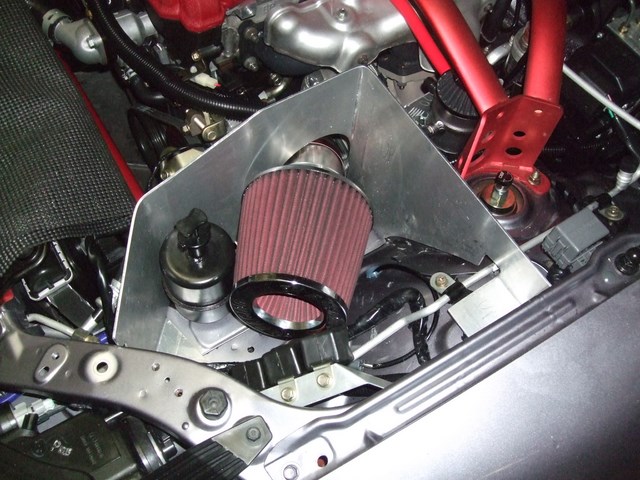
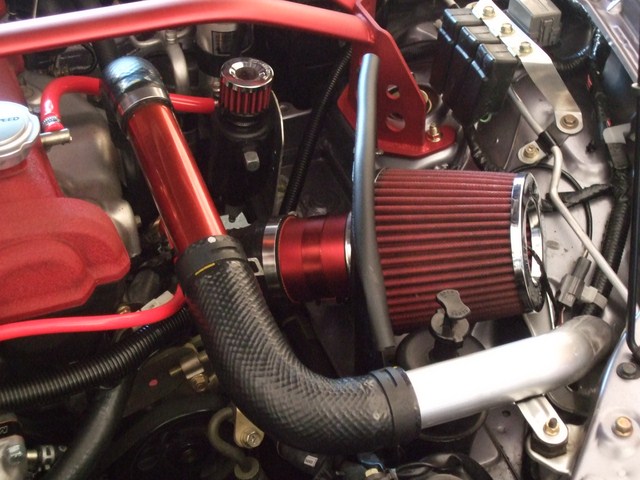
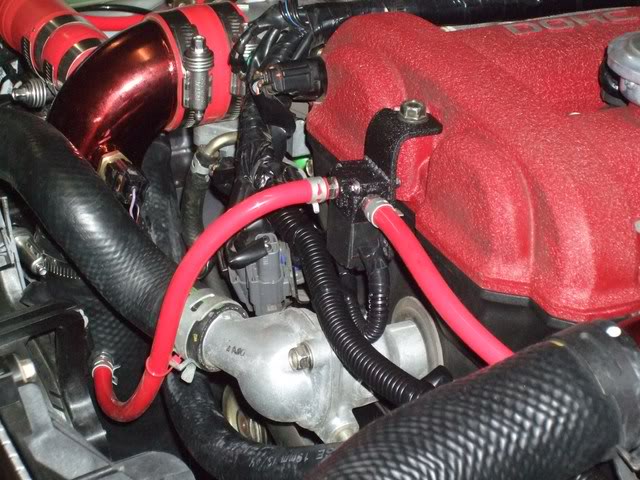
Before (sited behind the Cold Air Box using a bracket made from checker-plate aluminium):

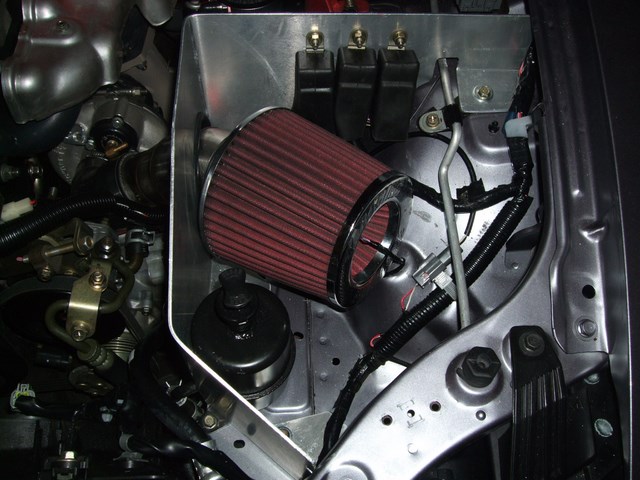
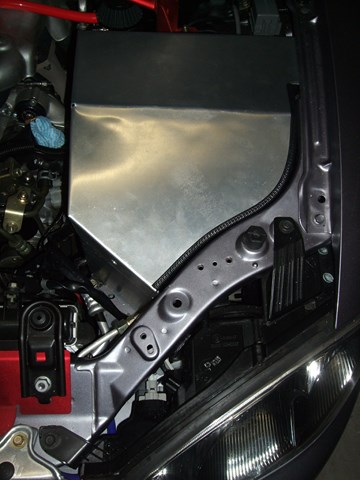
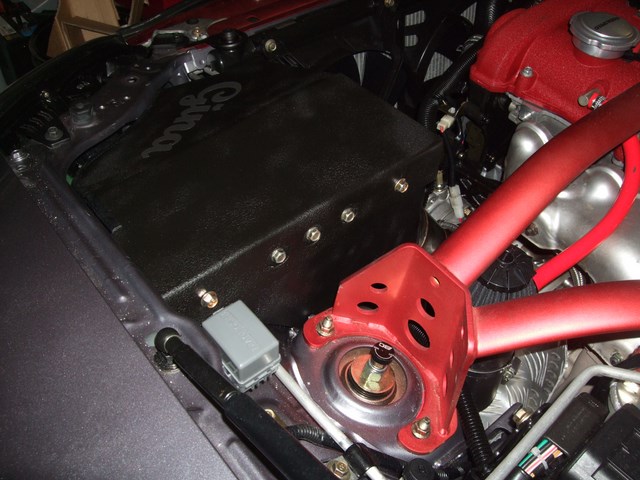
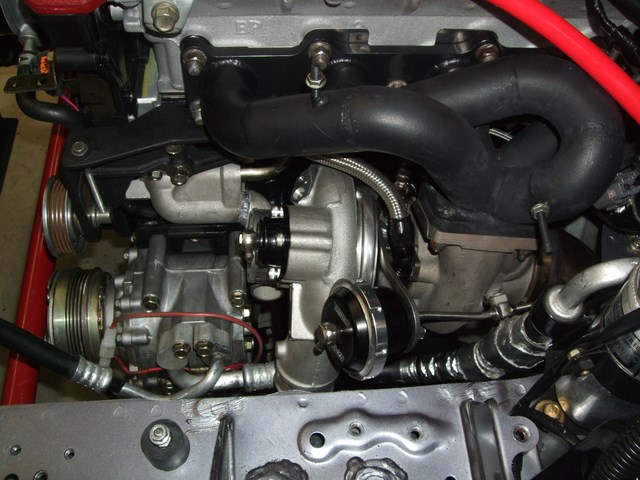
Unfortunately there is a gap in the Cold Air Box where the Power Steering lines used to be:
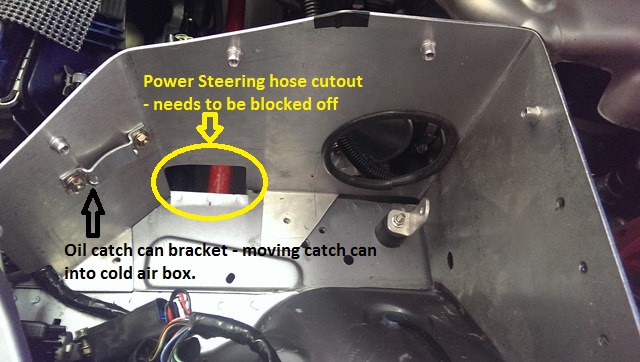
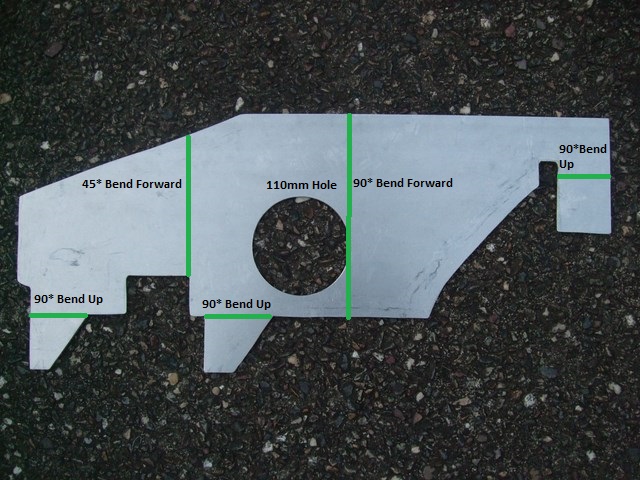
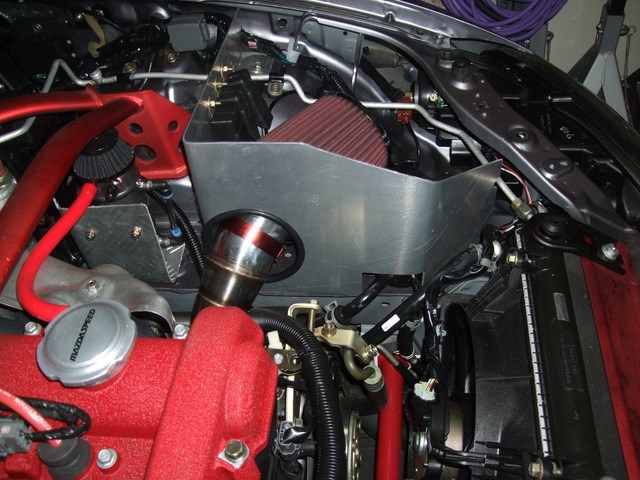
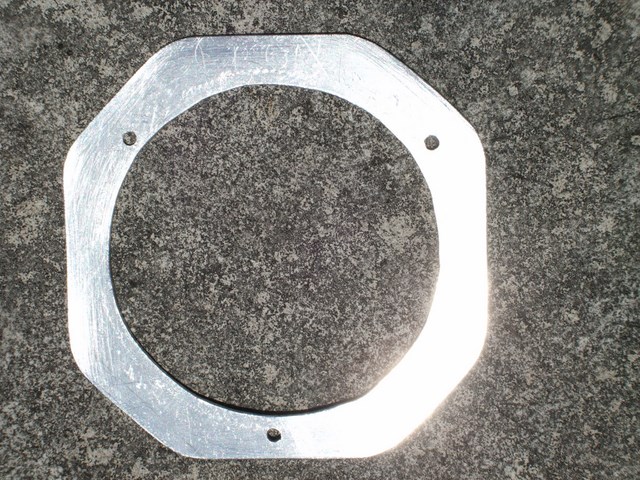
I'll probably re-make the Cold Air Box at some time but for now I had an offcut from the original aluminium that I could use to block the gap so I made a block-off plate to cover the gap, using the same two bottom bolt-mount holes as the Cold Air Box.
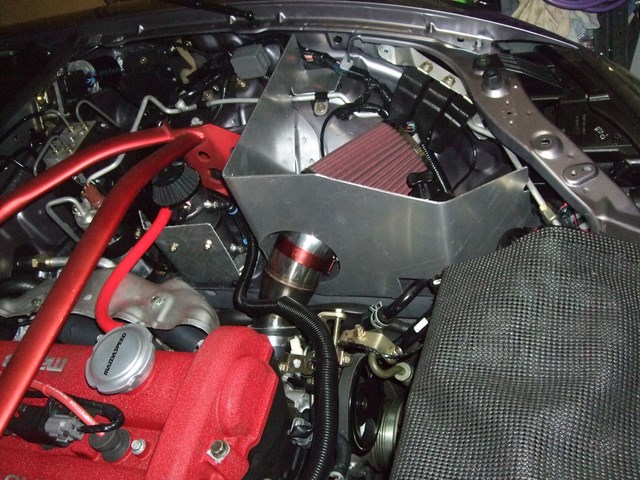
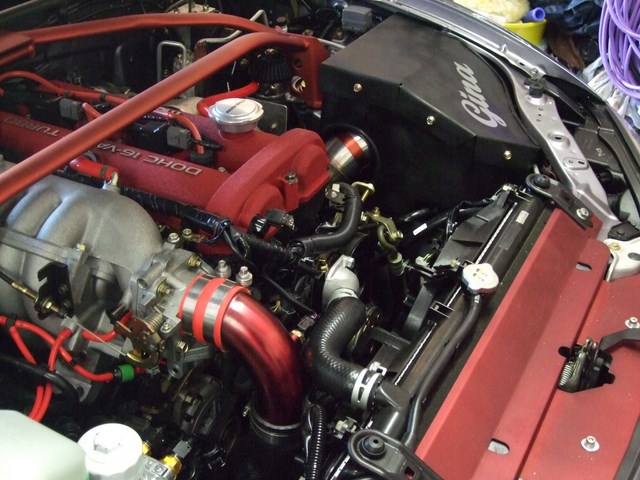
My catch can is too tall for the Cold Air Box with the filter on top so I replaced the filter with the blocking bolt from the original kit and just ran a hose from the outlet barb to the rear of the Cold Air Box.
The cut-out for the air conditioning line was also enlarged to accomodate the rocker cover hose.
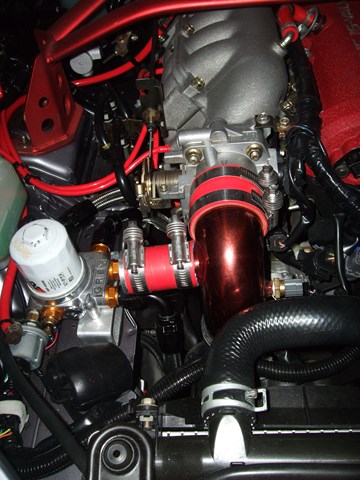
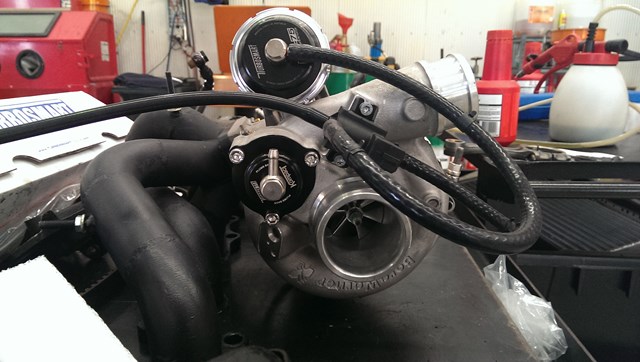
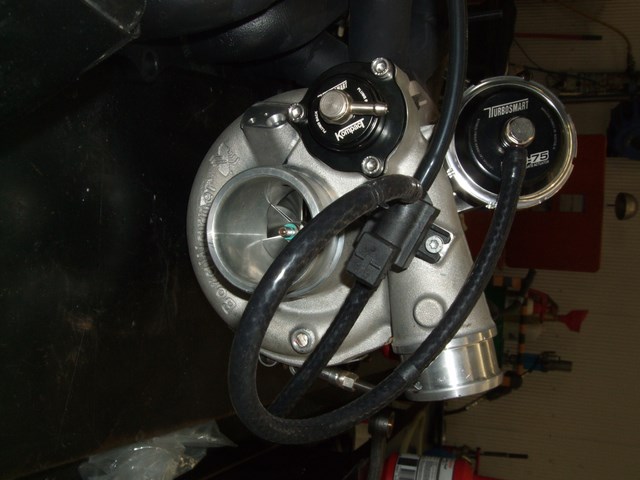
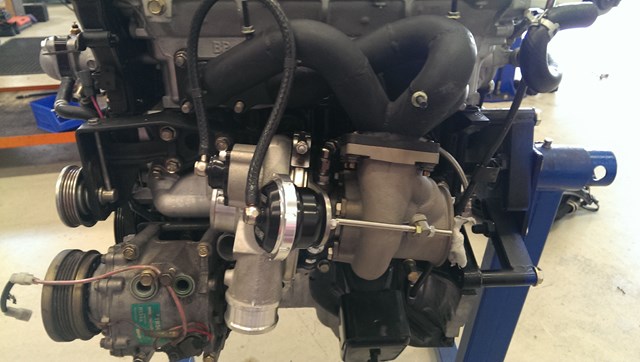
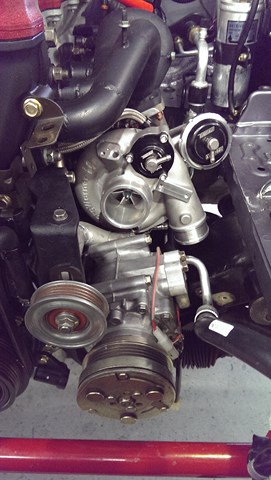
Next job is to find a permanent home for the EFR6258's boost control solenoid.
Normally this is mounted to the turbo intake housing but there's not enough room so I asked Jason to simply Jerry-rig it somewhere using zip-ties.
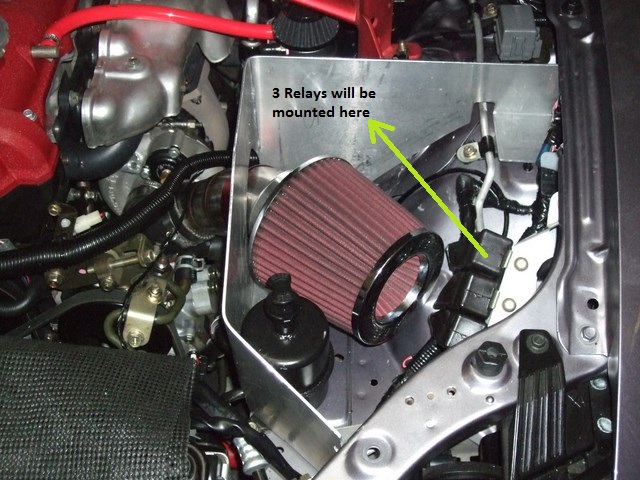
At this stage I'm thinking of mounting it where my previous EBC solenoid is mounted:
 Originally posted by Okibi, Sun Feb 02, 2014 11:39 pm[
Glad you've got her back, looking forward to seeing how it goes once run in.
Originally posted by Magpie, Mon Feb 03, 2014 5:09 am[Good to finally catch up at MX5 Plus on a Saturday. Car is looking great.
Originally posted by Nevyn72, Mon Feb 03, 2014 9:39 am[Yeah! Great to see you've finally got the car back!

I'll be very interested to see what the final dyno results are like given all the changes from stock. Will you be sticking with the piggyback ECU or going for a full standalone unit?
It will also be very interesting to hear what you think of the non-track drivability with all that power...
Have you considered a switch on the dash like MINX to give you a 'detuned' power setting for road duties?
Originally posted by NitroDann, Mon Feb 03, 2014 9:48 am[You don't want a switch you want proper ecu controlled boost control.
A 3d RPM/TPS vs duty cycle map.
If you need a switch in 2014 you are doing it wrong.
Dann
Originally posted by corners, Mon Feb 03, 2014 9:54 am[NitroDann wrote:You don't want a switch you want proper ecu controlled boost control.
A 3d RPM/TPS vs duty cycle map.
If you need a switch in 2014 you are doing it wrong.
Dann
Yep or a stand alone boost controller that has 4 selectable thresholds
Originally posted by NitroDann, Mon Feb 03, 2014 10:12 am[You still have the same issue.
If the controller is targeting 20psi, and you use 1/3rd throttle exiting a corner the controller will just have the turbo make 35psi in the intercooler pipes in order to get its target 20 in the manifold.
Now 1/3rd throttle is full throttle and you have no control or modulation. This is what guys who don't like the feel of turbo cars are complaining about.
If you don't have throttle position in the mix you will always have this issue.
Dann
Originally posted by Nevyn72, Mon Feb 03, 2014 2:08 pm[NitroDann wrote:You don't want a switch you want proper ecu controlled boost control.
A 3d RPM/TPS vs duty cycle map.
If you need a switch in 2014 you are doing it wrong.
Dann
I think you might have misunderstood me there Dann.....
What I was suggesting, and what I believe MINX has with his Haltech, are two alternative maps on the ECU, one of which is a lower power/boost configuration.
You would then switch between these two maps by the use of a switch on the dash.
 Originally posted by NitroDann, Mon Feb 03, 2014 3:08 pm[
..
3d mapped boost control uses your throttle position and rpm to determine boost and therefore torque (and therefore power) levels.
Using this system allows a completely progressive system, where your foot controls the torque without any humps or dips in delivery at all unless your foot asks for them.
This system means that at 1/4 throttle you can have the car at 4psi from cruise rpm to redline, and at half you could have 5, or 11, or 25psi or whatever you tell it you want.
This means that you simply select boost level with the throttle in a completely controllable silky smooth fashion.
Dann
Originally posted by timk, Mon Feb 03, 2014 3:17 pm[He can do it with his Adaptronic, it is a check box that says "multiply factor by TPS" or something along those lines. I use it in my car and it is awesome sauce.
It also has Boost 1 and Boost 2 inputs (when both active sets Boost 3) so you can have 4 settings if you still feel the need.
Originally posted by Lokiel, Mon Feb 03, 2014 5:32 pm[I'll be sticking with the Adaptronic Nevyn, it's one of the best ECUs available for our car and Andy's support is great (Bob Romano, a Haltech dealer that tuned my car before the engine rebuild, suggested that Haltechs have more tunable boost control though).
The Adaptronic Select ECUs also have a Push-To-Pass option which I'd like to try down the track, this allows temporary boost increase when the connected switch is pushed - sounds like fun. Learning to tweak the Adaptronic is something I need to spend more time on.
Originally posted by Nevyn72, Mon Feb 03, 2014 6:20 pm[Just for my own info there Lokiel, do you have the piggy-back Adaptronic or the standalone unit? (Is there a difference, not sure)
When I was looking into the full ECU package for my car they quoted for the standalone unit.....
Originally posted by Magpie, Mon Feb 03, 2014 6:21 pm[Push to pass, isn't that the loud pedal?
Originally posted by NitroDann, Mon Feb 03, 2014 7:20 pm[Thats what I keep saying.
Just 5psi for now Simon?
Dann
Originally posted by sailaholic, Mon Feb 03, 2014 7:53 pm[The standalone is actually cheaper. The main function of running the "piggyback" unit was alternator control. This is now included in the standalone with the circuit costing less then the extra plugs and wiring harness.
Don't confuse the "piggyback" version to be similar to the likes of a basic greddy emanage. The adaptronic still have full control of the engine not just the ability to add fuel and ignition. Low level piggybacks can't pull fuel from a map only increase.
Originally posted by Lokiel, Mon Feb 03, 2014 10:53 pm[Nevyn, my Adaptronic Select ECU is a piggy-back unit. As sailaholic mentioned, it's only a piggyback unit because the factory ECU was needed to control the alternator but Andy seems to have addressed that now.
Dann, I currently have the Turbosmart wastegate actuator with the 10psi spring it came with - after the build "sticker shock" I'm not game enough to push it any harder than the 4,000rpm limit advised by Jason during run-in. The difference between having a wired-open wastegate and a functional wastegate are MASSIVE though - even at low boost. With the wired open wastegate, my car felt like a 1978 1200cc Toyota Corolla, no guts whatsoever and it took an eternity to accelerate to 60km/h. Now it's got much more punch and I'm looking forward to finally getting some real boost.
Originally posted by james_p93, Tue Feb 04, 2014 5:51 pm[so how many kms are u going to do before starting to push it past 4k revs?
Originally posted by Lokiel, Tue Feb 04, 2014 6:19 pm[james_p93 wrote:so how many kms are u going to do before starting to push it past 4k revs?
1,000 "kays" is the recommended run-in distance so I'd better finish installing the Boost control solenoid ASAP so I can drive the car again - still got about 950kms to go
Originally posted by Magpie, Tue Feb 04, 2014 7:28 pm[Lokiel wrote:still got about 950kms to go
BP Burpengary on Saturday is good for a few hundred k's for me
Originally posted by NMX516, Tue Feb 04, 2014 7:55 pm[Just go for a drive for a few hours each night, and a couple of extra runs on the weekend and you'll have it nicely run in just in time to hit Lakeside on the 17th!