Eric's NB8B MX5! My Automotive Journey

Chat to do with your MX5/Miata/Eunos Garage Ride(s).

Moderators: timk, Stu, -alex, miata, StanTheMan, greenMachine, ManiacLachy, Daffy, zombie, Andrew, The American, Lokiel

hoffydoodle
Learner Driver
Posts: 22
Joined: Thu May 22, 2014 3:19 am
Vehicle: NB8B

Eric's NB8B MX5! My Automotive Journey

Postby hoffydoodle » Sun Aug 10, 2014 2:05 pm

I started a thread on JDMST for my NB8B and thought I'd throw it on here as well!
So here:
Long time lurker here! Probably been on here for 4 years ~ or so. The name is Eric, from Western Sydney and studying I.T. full time :)

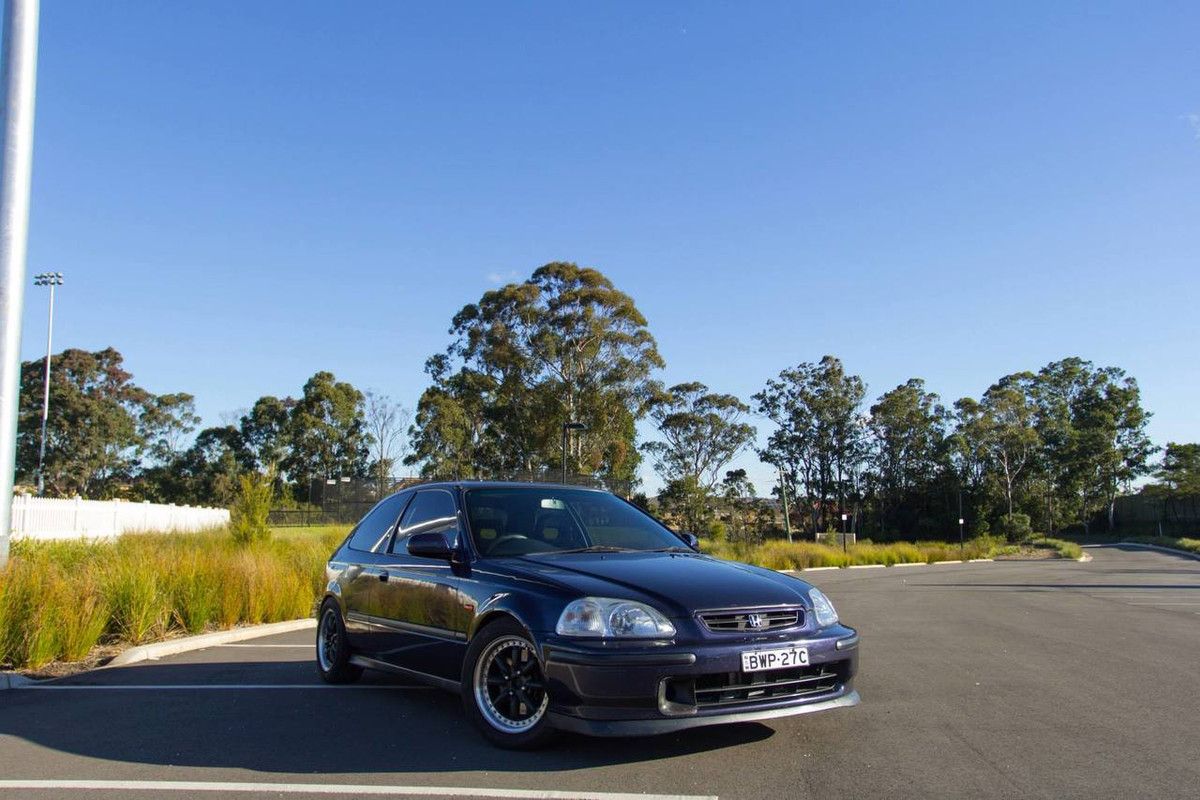
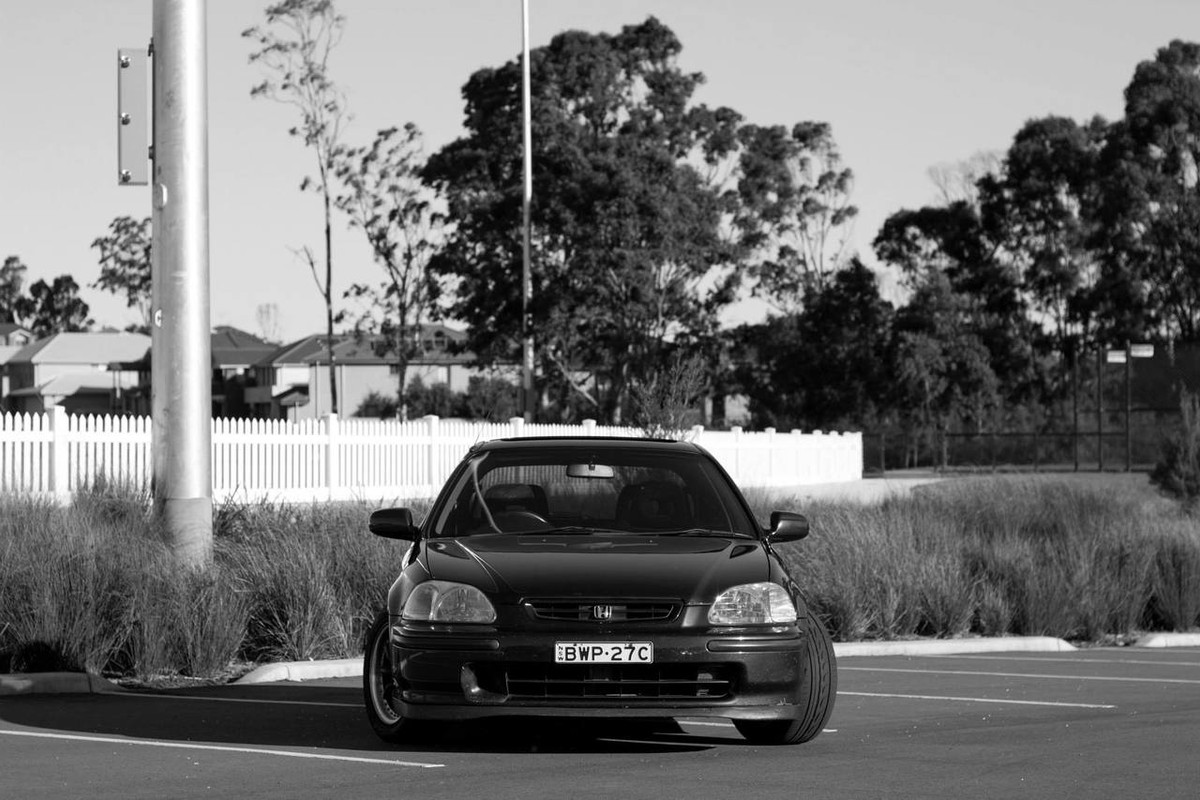
I've had my fair share of cars, after getting my p's when I first turned 17 I started searching for cars ranging from EG's, EK's, NA/NB MX5, Integra Type R (DC2). After making up my mind I decided to settle for a EK, specifically a VTIR :) I looked for around 4 months or so and one was up for sale for about the same time I was looking for one.(AD was on JDMST for a bit) It was a rough example of an EK VTIR (230xxx kms at the time) but had some very nice goodies including
- Buddyclub Spec 3 Cams
- Injen CAI
- Apexi PFC
- TODA Headers
- Xforce Exhaust with Twin loop
- B18C Head (Port and polished)
- HKS Hipermax II Coilovers

So off I was with my brother to Lane cove to see this EK. After inspecting the car and talking to bloke said he was selling because he was going overseas. First lesson learned was right here. Never believe anyone they're going to overseas. Going on, we took the car for a test drive and we where sold just purely on the sound of DAT VTAC. Spec 3 cams made the crossover extremely aggressive. Deposit was put down and the week after the car was in my driveway :) Sold some goodies on the car such as a bucket seat and an extra set of coilovers. Problem number one arose! After leaving school one day and giving it a good thrashing down the Hume Hwy the car shut off and check engine light popped up. So sitting there on the side of the Hume with two of my mates I called my brother down to help me have a look what was wrong. Probably sat there for a good 2 hours or so and got a helping hand of another Honda boy by the name of Ahmet. Ended up being the IACV(Intake Air Control Valve). We unplugged it and drove to a mates house and pulled it apart and cleaned it out with some carby cleaner and she was sweet (Y) MAD!

Didn't do much with the car until I had a pupil free day and took the car down to Nasho for my first time run. Gave it a very good thrashing through there and on the way back the tensioner pulley flew off and we lost the bolt. Yet again sat on the side of the road for an hour trying to get it out so we could drive home and re-bolt it. At this time, I was getting bored of the car and the fuel economy wasn't amazing either (250kms a tank, tune was horrible with VTEC engagement at 6800 rpm). I couldn't be bothered getting it retuned and decided to sell. Car was up for sale for a good 4 months until this fella from South Aust flew over and papers where signed. Apparently the car didn't make it back and long story short the bloke threatened to sue because he wasn't happy with the car. After this, never heard from him again.

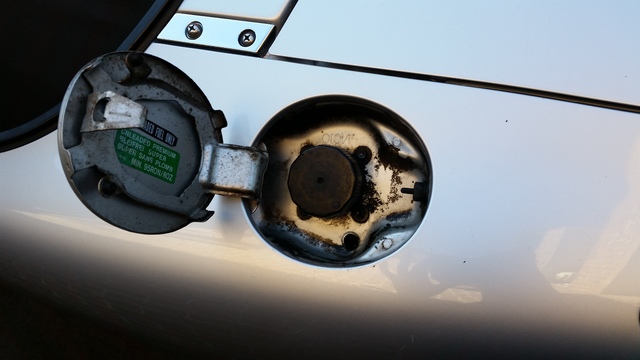
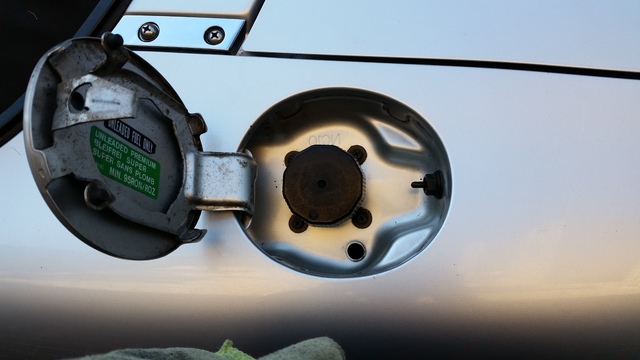
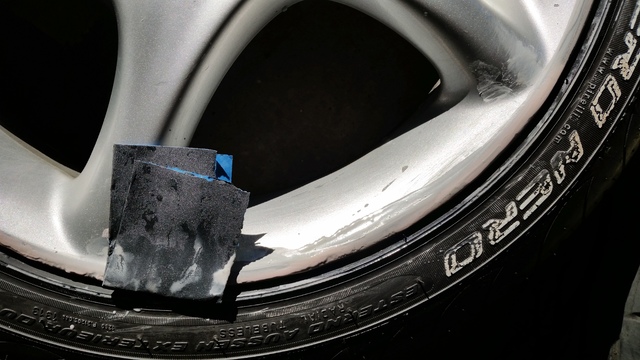
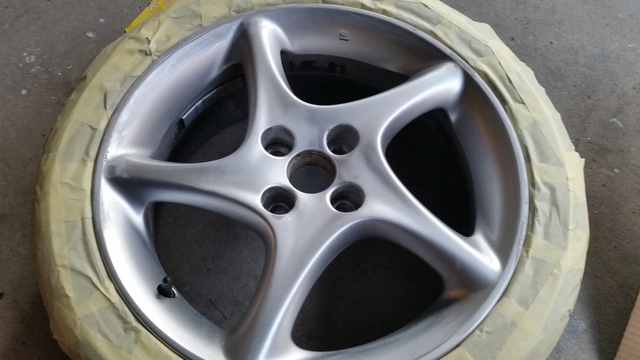
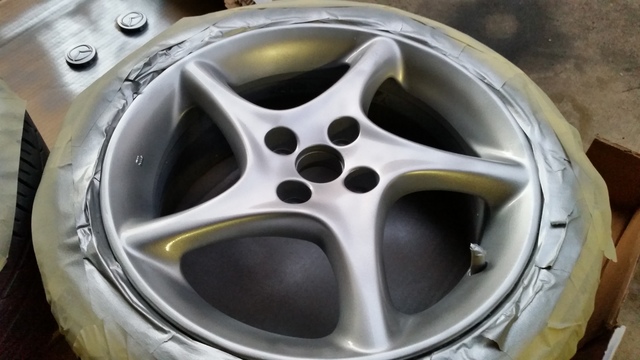
Here are some photos of it.
Image
Image

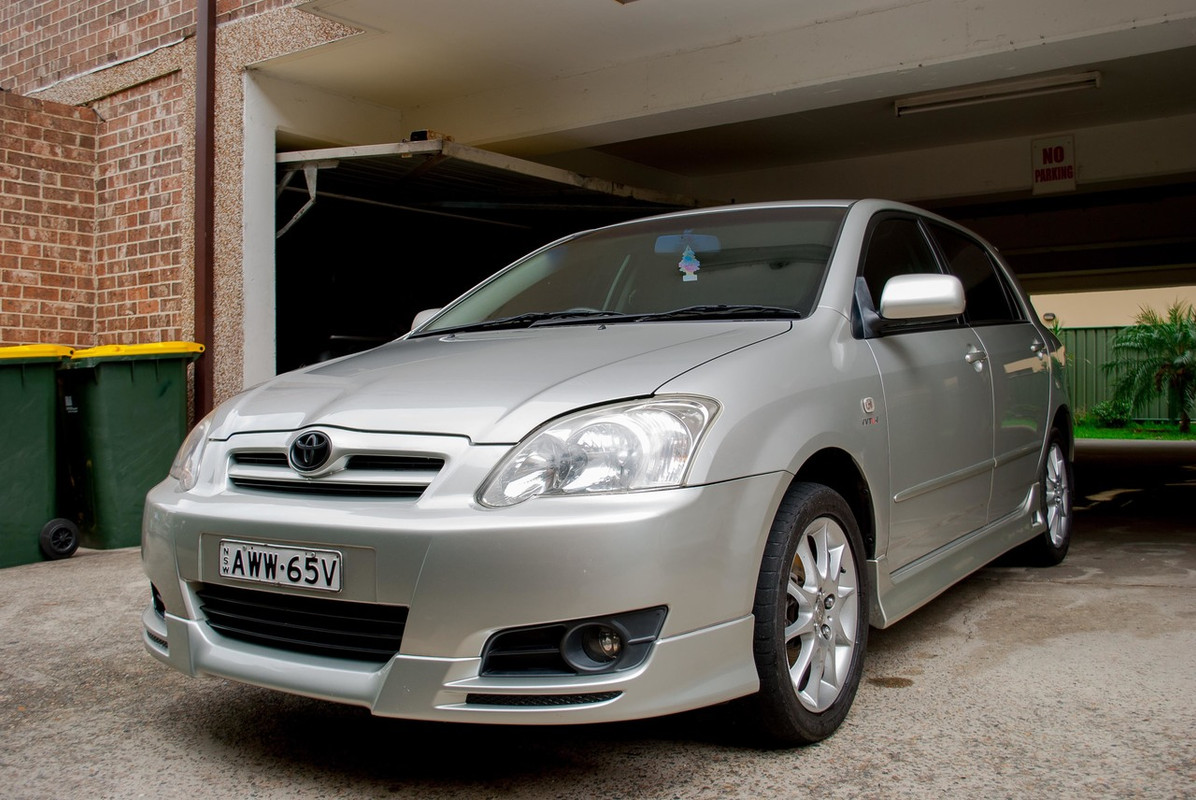
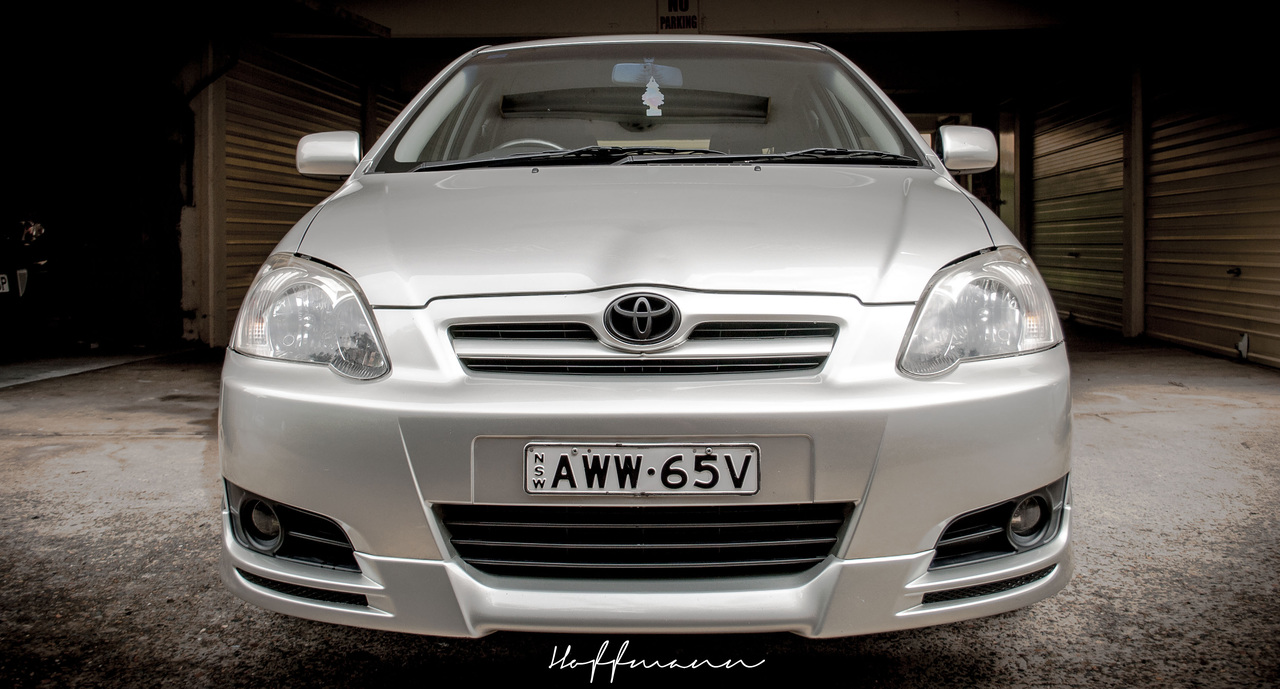
After this chapter I started looking for another car. This time S13's where on the list along with Corolla Sportivo's, DC2R's, NA MX5's.
My brothers close mate had a Sportivo's and thrashed the living ƒü¢k out of it and never had any real problems with it besides the clutch going. So my searching started for a decent Corolla Sportivo. I was after the facelift model as I preferred the headlights over the boxy looking pre-facelift. After trying to lowball a few people and after nearly buying a red one, I was inboxed on facebook from a bloke on the Sportivo group with a Silver 2005 Sportivo with 151xxx kms. Fast forward a week later I was lifting everywhere I went ;) For some god forsaken reason the previous owner cut a hole in the stock airbox to get more of a suction sound and was quickly changed to a stock airbox with no hole. Nothing really happened with the Grocery Getter besides servicing and taking me from A to B. Got bored of it after 4 or so months and it was up for sale. 5 Months later it was sold after dealing with "WALLAH WILL YOU TAKE 5K 4 DA TIVO CUZ" and "IM A FIRST YEAR APPRENTICE AND THE BANK ONLY GAVE ME 5K". This happened more than 2 times a day. Was so happy it was gone as rego was due the week after and needed four new tyres and wasn't bothered with it.

Again, some photos:
Image
Image

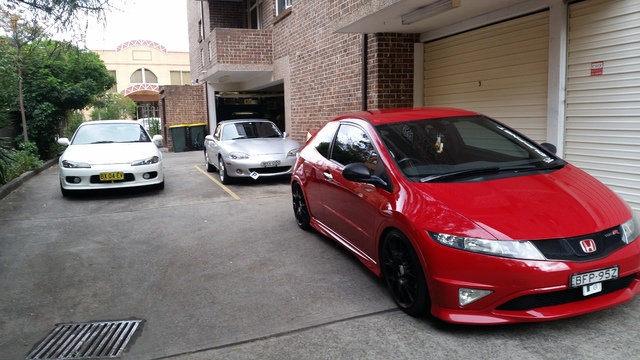
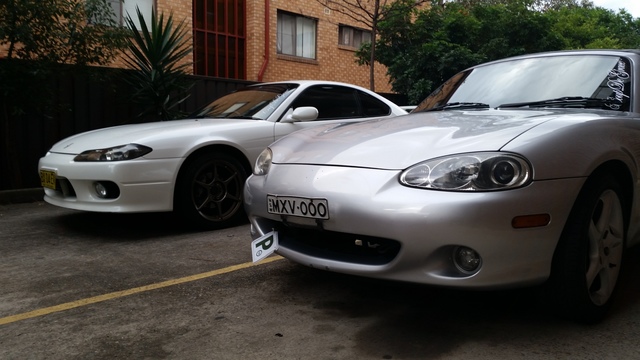
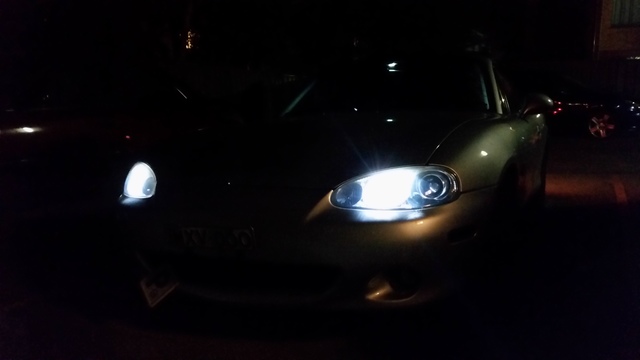
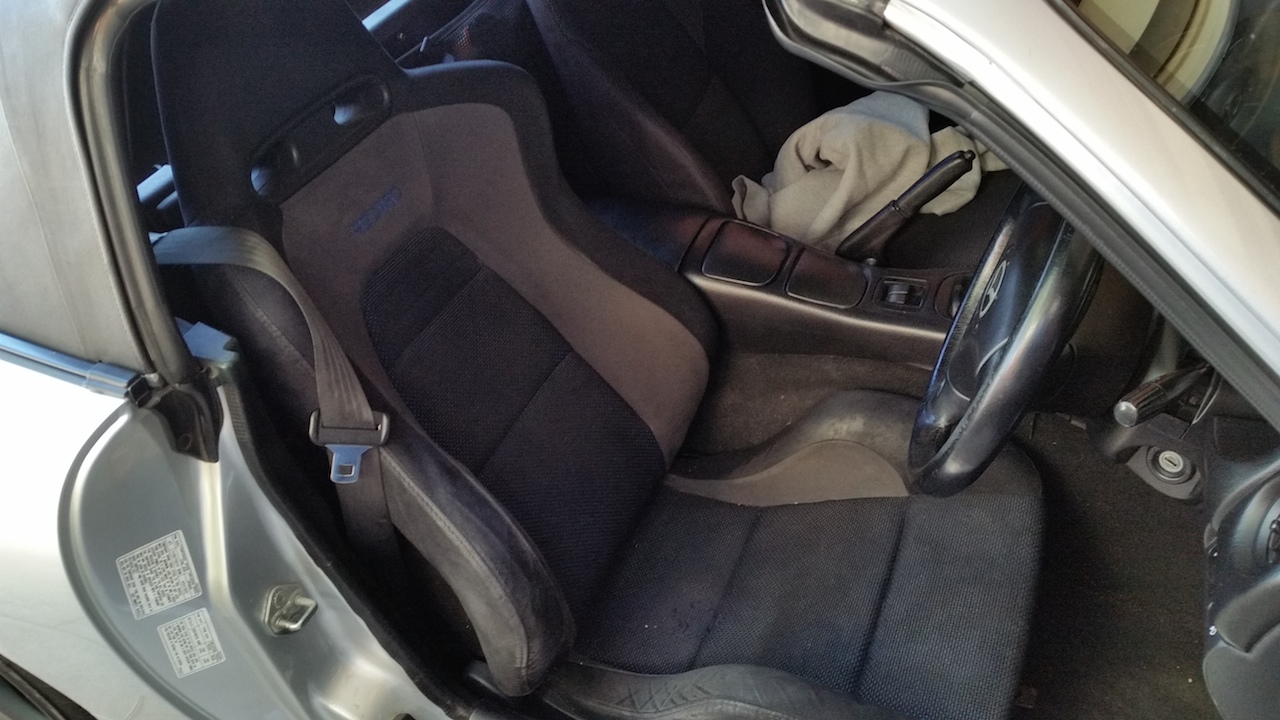
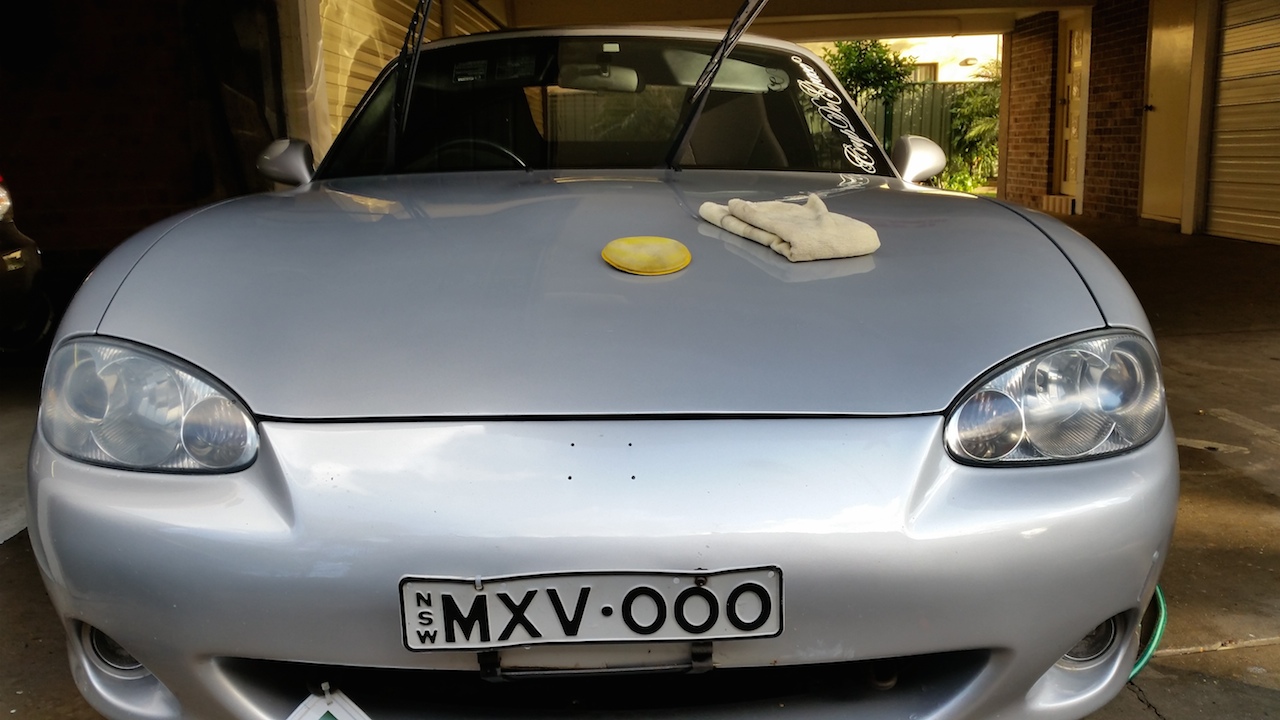
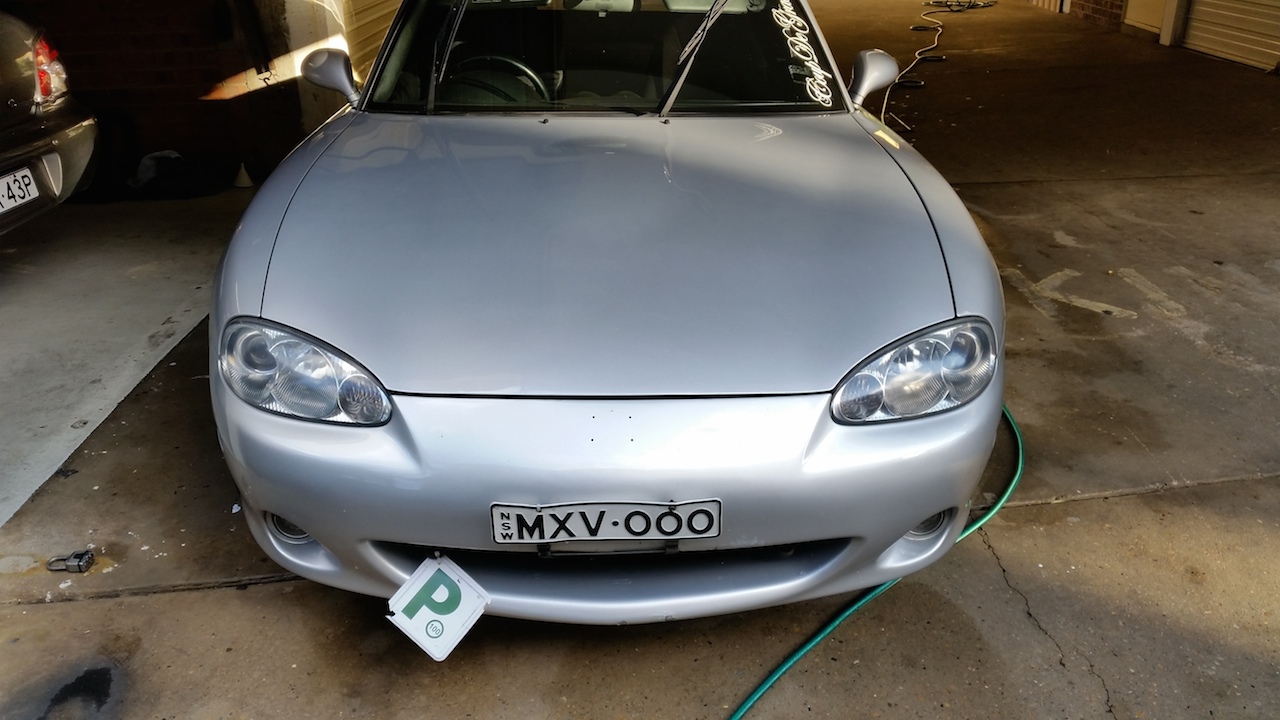
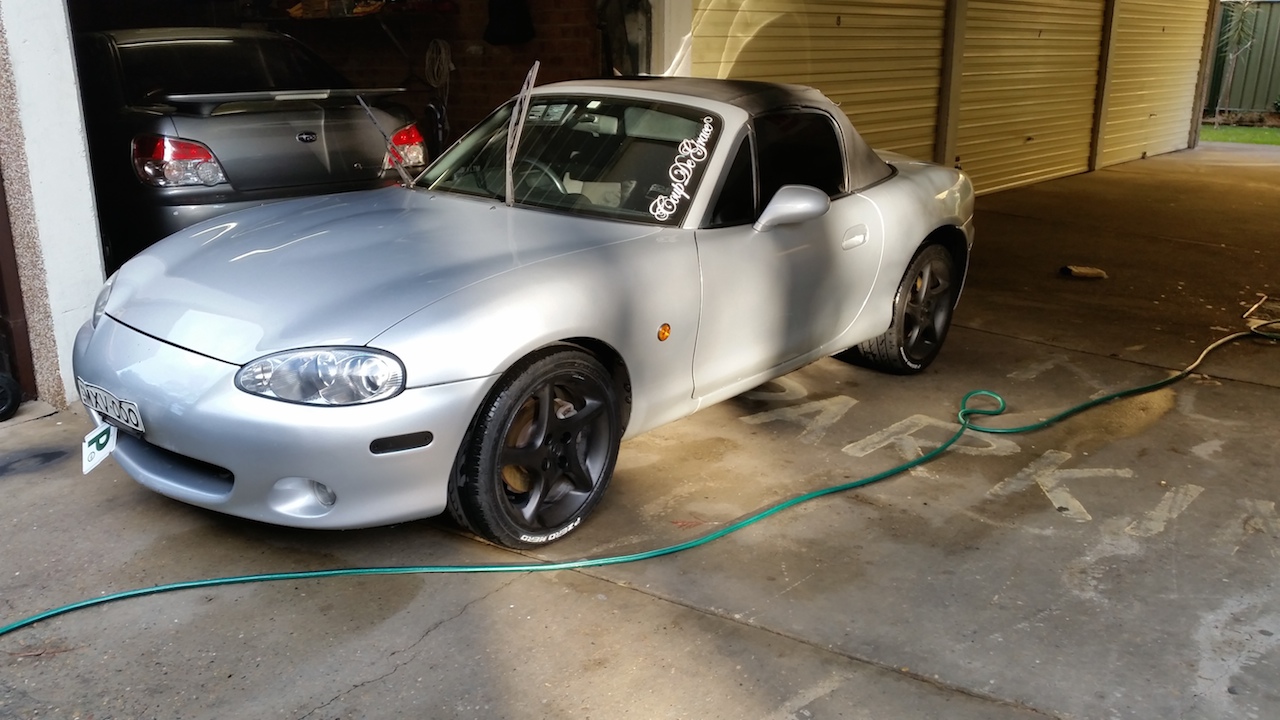
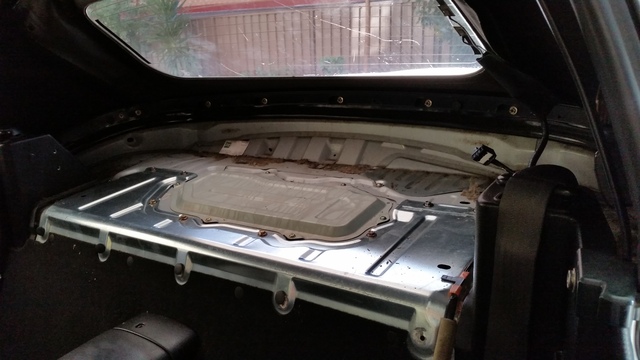
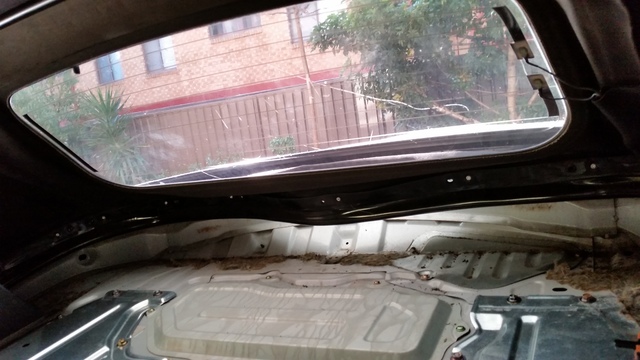
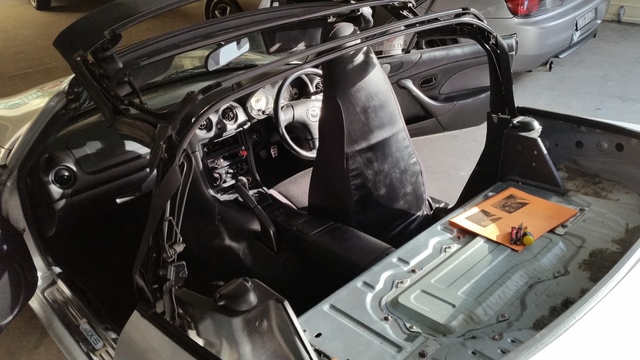
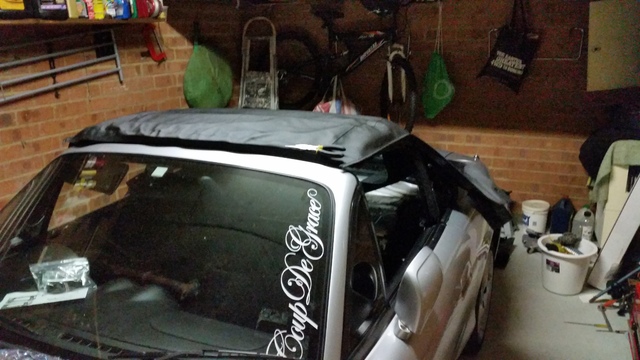
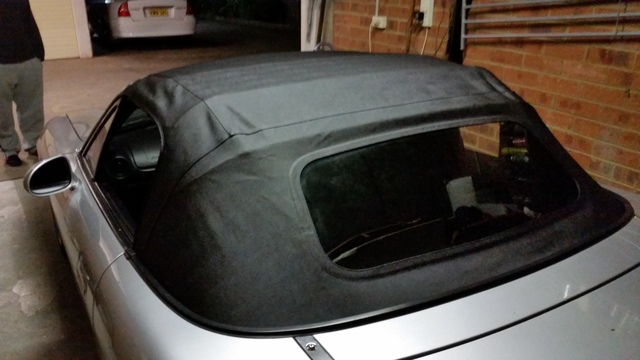
And now we stand at my third car in about a year and half, my NB8B MX5 :)
Image

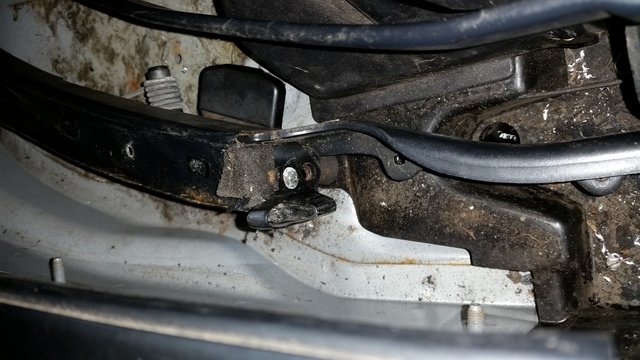
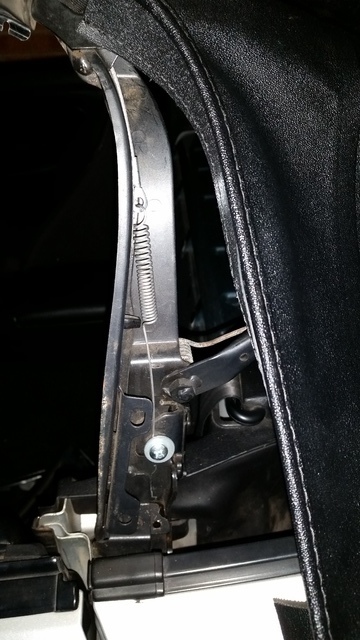
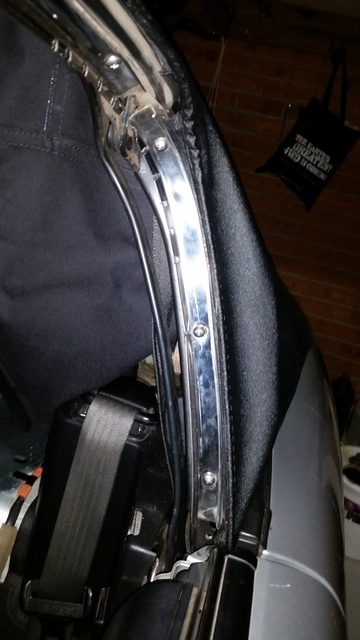
Stock as a rock, has logs and a replacement roof in which I need to find some time to replace the ripped worn one currently on it. First impressions: GO-KART + RAILS + LEGAL ROAD CAR = MX5. Plain and simple. It handles amazingly and drove it with the roof down for the first time today to work and smiles where had all round :) Needs a couple of things fixed up, so from here on it's just an ongoing diary of the MX5 :)

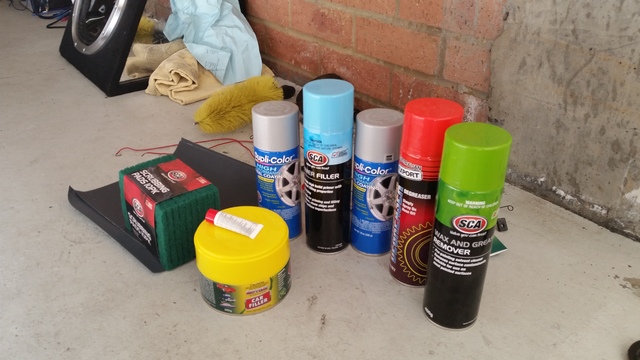
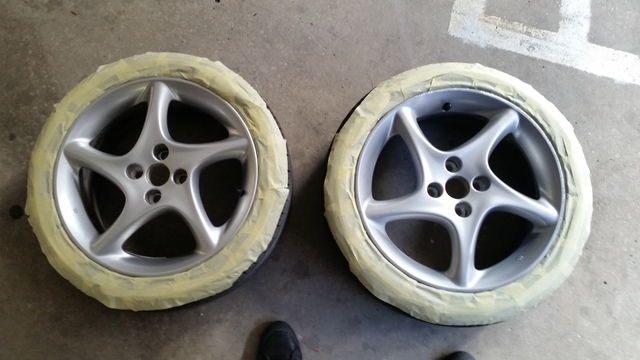
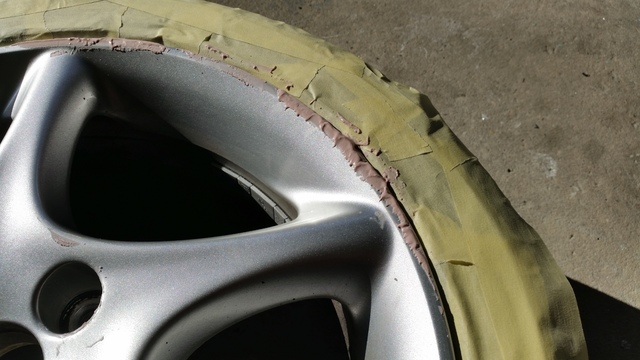
List of things to take care of:
1. Replace Roof
2. Give the car a thorough detail
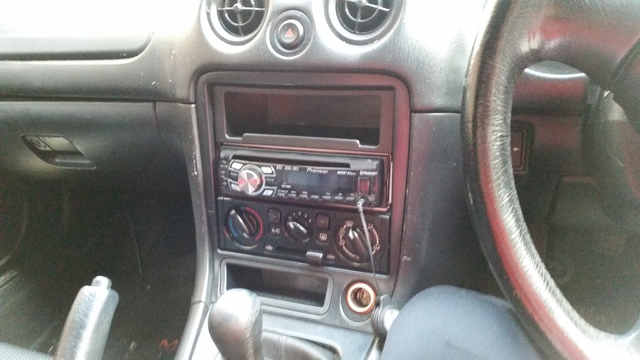
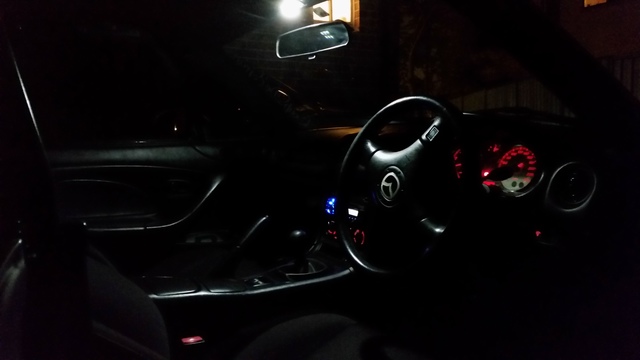
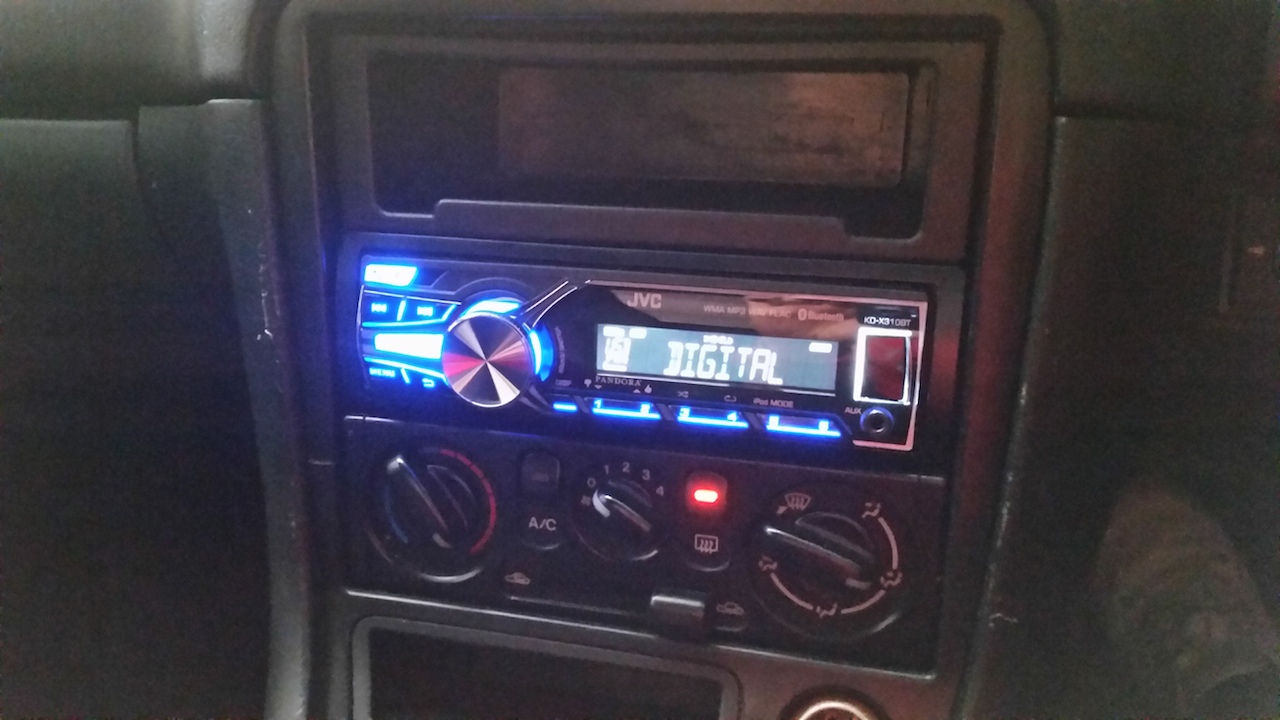
3. Fix headunit (or buy a new one)
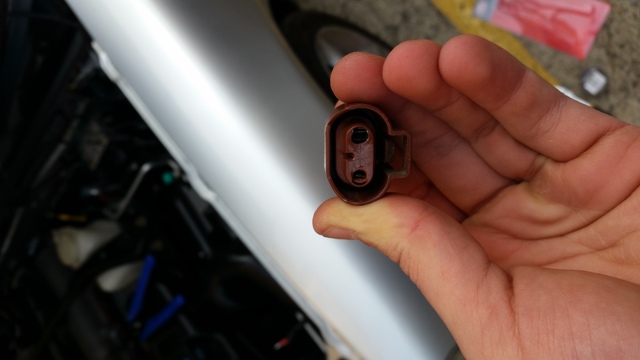
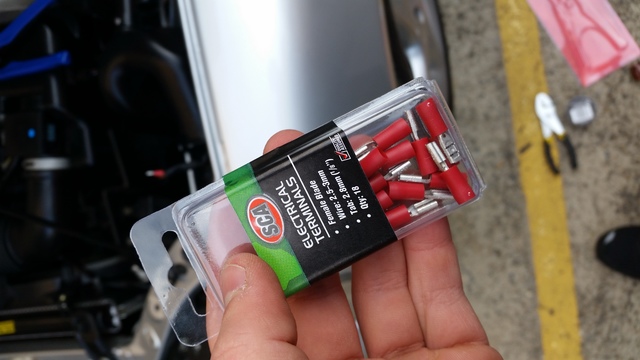
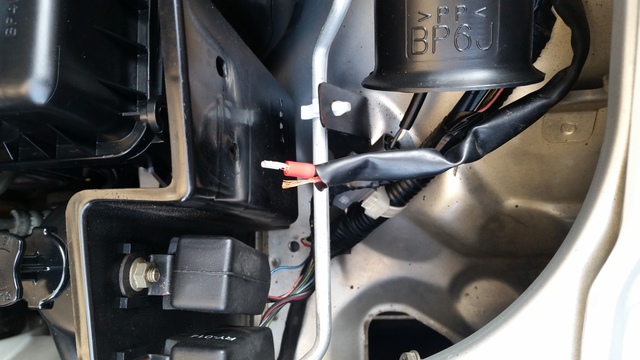
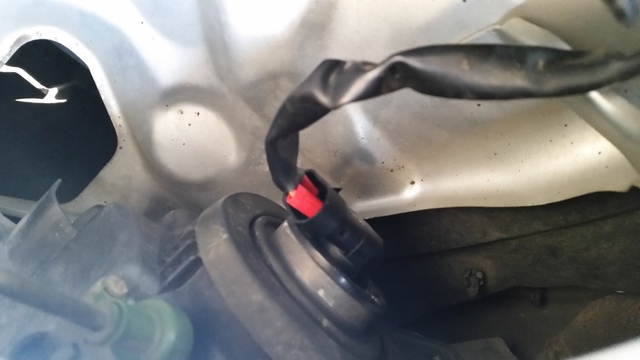
4. Fix left headlight (connector has shat it self)
5. Left fog light needs a new globe
6. Fix front main seal. Leaking a little (Hopefully buying Mazda OEM seal soon)
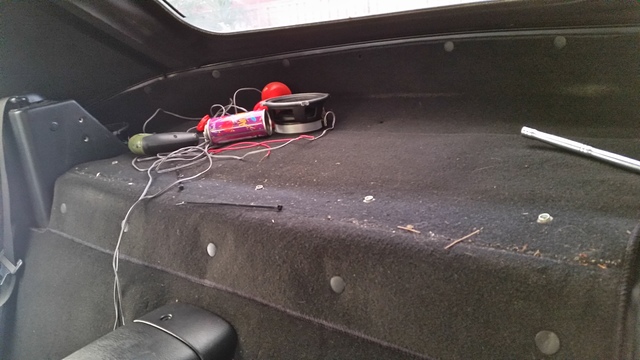
7. Get rid of the ugly 4inch speakers on the parcel shelf and replace with 6x9's + Slim line subwoofer for dat bass (Hardstyle people know my feels)
8. Source Mazda badges
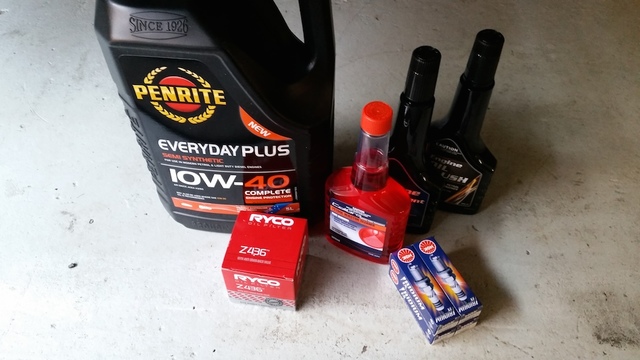
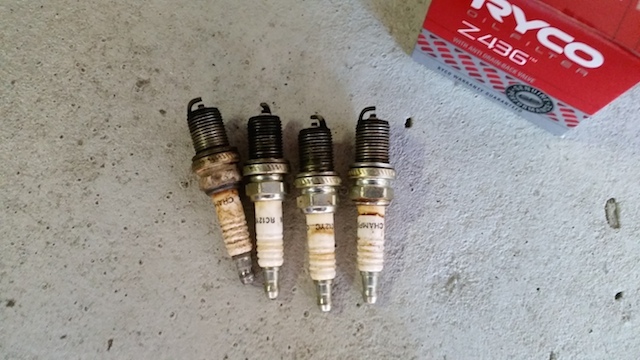
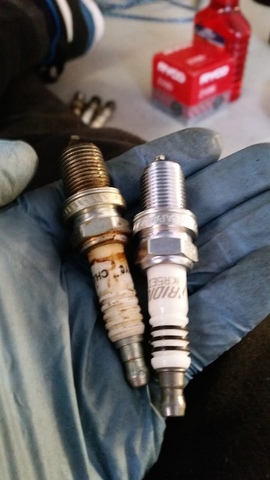
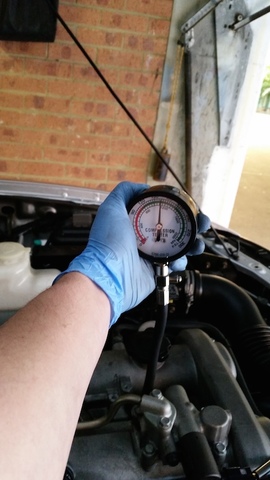
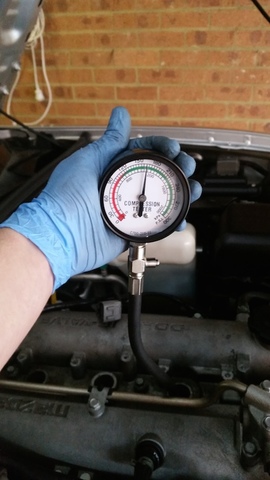
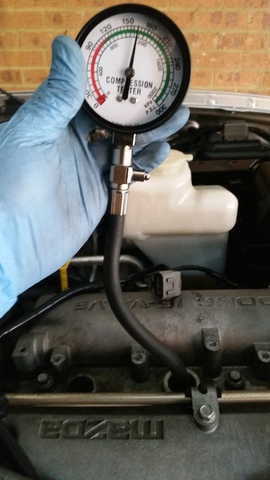
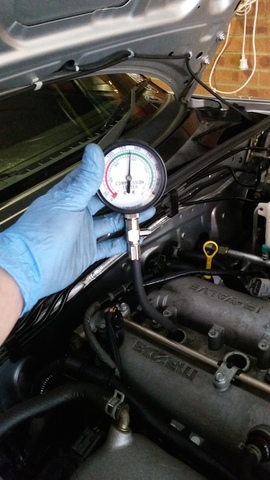
9. Full Service (Fluids, Belts, change all fuses,air/fuel filter)

List of future Mods:
1. Black Headlight surround
2. Front number plate relocation
3. Coilovers (recommendations anyone?)
4. MX5 Mania CAI or maybe K&N Typhoon (need recommendations)
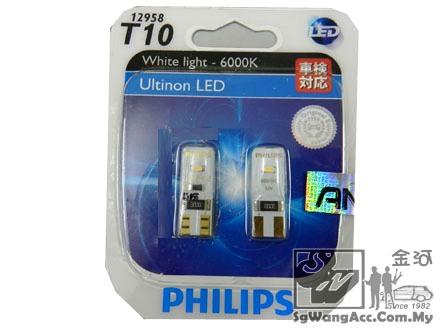
5. Change interior globe to LED along with number plate globes
6. Recaros
7. Tint rear lights red
8. Tint foggies Aqua (something different I guess :) )
9. Exhaust (recommendations?)
10. SUTUTUTUTUTU or BRAP BRAP hehe

Shout out to CDG boys :)
Image

That's all for now, going to tackle a few maintenance things tomorrow and will report back :)

hoffydoodle
Learner Driver
Posts: 22
Joined: Thu May 22, 2014 3:19 am
Vehicle: NB8B

Re: Eric's NB8B MX5! Tackling first problems!

Postby hoffydoodle » Sun Aug 10, 2014 2:06 pm

Okay, so today I tackled two problems!
1. Wipers were horrible so I bought a new set of Tridon Arms + Blades from work
2. Fixed my left headlight issue. Turned out the connector had shat it self.
How I temporarily fixed the problem:
Here's the plug:
Image

As you can see, seems a bit distroyed and it was fixed with some spade connectors. The wires were stripped back and the spade connectors were crimped on:

Image
Image

Finished product:
Image

Going to have it like this temporarily, until I decide I want some HID's or get my hands on a HB3 Connector.

Quickly detailed the inside of the car today and inspected the drain holes. So it's safe to say these have NEVER been cleaned out so plan for tomorrow is a wash + clay + wax/sealant. And then grab my vacuum and shove it down the drain holes and see what I can suck up.

Also need to find time to replace the soft top as there are some holes and duct tape doesn't hold up very well.

hoffydoodle
Learner Driver
Posts: 22
Joined: Thu May 22, 2014 3:19 am
Vehicle: NB8B

Re: Eric's NB8B MX5! Just cleaning

Postby hoffydoodle » Sun Aug 10, 2014 2:07 pm

Coilovers I'd say budget is around 1000~ depends on what's recommended etc etc
Car feels a bit sluggish and previous owner said it hasn't been service for around 7000 kms, so I might service it in the following week or so. Thinking about making a DIY CAI, just for the mean time and then later going onto a MX5 Mania product.
Brake pads wise, WANGAN(Dom) speaks highly of Dixcel products and their reliability as DBA is now made in china with weak metal now, so not very sure.(I'd say im leaning towards Dixcel)

So today, I cleaned out the drain holes with an old bamboo stick that was sitting in the garage and needless to say there was a bunch of crap in there.
Gave the car a quick wash and polished up the kick panels and the exhaust tip. Also had a look at the fuel cap area (Didn't have a look as owner filled up a full tank before taking delivery). It was filthy!
Disgusting so to speak.
Here's a previous:
Image

With some elbow grease and degreaser:
Image

Here's the exhaust tip(Was black before):
Image

And my mate Christian (Oski Photography) dropped by to have a look at the new ride :)
Image

Shot with my brothers 15 !
Image

That's all for now, next on the list is a service and maybe have a look at the inner guards (Known for crap to build up in there)

hoffydoodle
Learner Driver
Posts: 22
Joined: Thu May 22, 2014 3:19 am
Vehicle: NB8B

Re: Eric's NB8B MX5! Minor Service and Comp Test!

Postby hoffydoodle » Sun Aug 10, 2014 2:07 pm

Today I did a minor service:
Items:
- Penrite 10w-40 Semi-Syn Oil
- NGK Iridium Spark plugs (BRK5EIX-11)
- Nulon Engine Treatment (E20) (Had a slight tick on cold starts but now gone, YAY! :D)
- Injector Cleaner (Calibre stuff is cheaper and better than the Nulon stuff)
- Oil Flush (Who knows what was in there.

Image

Started off with jacking up the car and having a look under the mx5 for the first time.

Image

Popped off the sump plug and as expected black oil...
When doing an oil change I like to let some fresh oil run down through the engine when draining it. So poured maybe 100mL of oil down the top and waited for it to flow out the bottom.
Oil filter was a MASSIVE PAIN IN THE ASS to get off. Spent a good 30min trying to get it off. Changed the sparkies and let's say I was very disappointed when I was faced with Champion spark plugs, yes, CHAMPION spark plugs (we sell these for lawn mowers at work).

The pictures can tell the condition of these -.-
Image
Image

So I thought, hey the sparks are out let's do a compression test :D
Healthy and no inconsistencies is what I like to see :)
Image
Image
Image
Image

Approx 170psi~ on all four :) I'm a happy man.
One thing brought to my attention was the quality of the grommets on the coil packs themselves, so going to start looking for replacement ones!

Next on the list is gearbox, diff and fuel filter. Already bought some Nulon G70 treatment as it worked a treat on my Sportivo.
Anyone know cheap places to buy some Redline MT90?
That's all for now!
Hopefully tomorrow I can do my soft top as rain is forecasted next week and want it done!
Eric.

hoffydoodle
Learner Driver
Posts: 22
Joined: Thu May 22, 2014 3:19 am
Vehicle: NB8B

Re: Eric's NB8B MX5! My Automotive Journey

Postby hoffydoodle » Sun Aug 10, 2014 2:08 pm

Little update:
Changed my gearbox oil, went with Penrite 75w-90 Fully Synthetic + G70 Gearbox treatment. Second was crunching a tiny bit everytime, but the new oil and gearbox has made it feel like it's slicing through butter! Everyday it's getting smoother and smoother! And the 2nd gear crunch is gone!
Also bought a new(used) headunit off a mate for cheap as the previous one was horribad:
Image
Speakers are quite bassy and from what I can see they're fusions in the door so I'm looking at either buying a slimline sub or some 6x9's
Also bought these:
Image
Will get a photo of them installed later tonight :)
Edit: Here's a photo:
Image

Also I replaced the interior light with a LED one:
Image

Also a little teaser:
Image

Okay, so much hasn't happened since last post.
Got rid of the pioneer headunit and picked up a nice JVC one. Sound quality has increased with the JVC unit.
Image

So I wanted to test fit a Evo 7 Recaro in the MX, wasn't surprised to the filth that lied under the factory seat:
Image

Curious I took out the passenger seat and was faced with similar filth. Gave them both a solid vacuum and the test fitting begun:
Image

I was so close to buying it but my funds didn't allow me. I didn't want to buy the seat and have it sitting in the garage for a couple of months until I got more money for some rails. So it'll wait for now. As for fitment, it was near perfect and driving position was perfect as well. A lot of people have problems fitting bucket seats into the NB's as the door cards get into the way, but it's safe to say it cleared the door card by about 4cm or so. So for those NB owners, a EVO 7 recaro will fit :lol:
It's definitely on the list for the near future.

Got around to bringing some life back to the front headlight's:
Image
Left is obviously during sanding it back and right is after a slight rub back with some Meguiars Plasti-X

Some what final product(needs another polish):
Image

And how the car sits as of last week(have since ripped back the black plastidip on the wheels and going to refurb them and spray them in K11 ;) ):
Image

That's all for now.
Eric

hoffydoodle
Learner Driver
Posts: 22
Joined: Thu May 22, 2014 3:19 am
Vehicle: NB8B

Re: Eric's NB8B MX5! My Automotive Journey

Postby hoffydoodle » Sun Aug 10, 2014 2:09 pm

Phew! Where do I start!?
So this week I have a mid-semester break so what a better time than to do my roof as the old one started really bugging me and was a bit embarrassed with the amount of duct tape covering the holes. Nice sleep in till about 12pm was good and off it was downstairs to get le hands dirty. (Little did I know this will take me 14hrs to do... Was hoping for around 6 hrs at most ahaha!)
First came out the small storage compartment:
Image

Got rid of those chitty fusion speakers and the air horn. Lel.
About 16 bitch clips later I the carpet was taken out and revealed the rain rail!
Image

13 bolts undid the retainer plate thingo and out came the rain rail.
Image

Photo of the carpet and retainer plate. (Had one long one around the width of the car, and two others that went around either side of the car.
Image

At this point all you have to do is bring out a knife and cut the bastard to pieces and then we were left with the frame:
Image

Might I add there are 2 rivets that hold the soft top onto the B pillar and one rivet that holds the tensioner cable in place. These were all drilled out.
So this probably took the longest. The B pillar retainer plates are held in with two bitch clips and after taking off the bitch clips you're left with a screw that holds a retainer plate to the bottom of the B pillar rubbers. Spent a good three hours trying to take out these screws as they were rusted(didn't want to round em') and they were extremely awkward to get to:
Image

The new roof was brought out and new tensioner cables were put through the channels on either side. Flipped the roof over and onto the frame and we could start the reversal of removal. Here I encountered the first problem. Firstly I lost the screw that holds one side of the tensioner cable to the B pillar. From memory it went down the drain hole, so I left it at that for monday night. Was buggerd and I wanted to go to the gym. I left it at:
Image

A quick trip to work and I picked up a magnetic pick up tool the next day and stuck it down the drain hole and nope no bolt. Had no friken idea were it went. Off I went to WDS in wetherill park to pick up a replacement. Bloke gave me a pair for free and I was on my way home and started work again at around 5pm.
The top of the tensioner cable gets riveted to the top of the frame and makes it way down to the B pillar and gets bolted there. This is the tensioner cable bolted down to the frame on the B pillar area with brand spanking new screws:
Image

So the replacement soft top didn't come with pre-drilled holes so I had to drill some holes through it. (Im assuming these don't come pre-drilled because NA and NB B pillar holes are in different areas? Can anyone confirm?) Drilling holes through to fit the weatherstrip rails:
Image

That took most of the time on the second day along with putting the weatherstrips back on.
Next was to use vinyl glue to fit the front the soft top and then the factory bracket was bolted on top to keep the front of it there. (Sorry don't have any photos, hands were full of glue and was probably high from the fumes of the glue haha!
This is how the roof sat after that:
Image

Next was reinstalling the rain rail and brackets holding it in place.(Sorry have no photos was over it by this point)
Put all the carpet and interior pieces back and viola! 14 man hours later we have a new soft top!
Image

No wonder MX5Mania charge $440 to install it hahahah!

User avatar
meanmx
Racing Driver
Posts: 1493
Joined: Mon Aug 14, 2006 11:41 pm
Vehicle: NB8B
Location: Point Cook, Melbourne

Re: Eric's NB8B MX5! My Automotive Journey

Postby meanmx » Sun Aug 10, 2014 6:22 pm

Big writeup. Welcome!!

Didn't want to be the one to do this but it looks like your roof is fitted incorrectly. The rear frame should sit at the seam. It has springs on one side and strap on the other to hold it in place. Good luck.
2014 VW Mk7 Golf R
2001 Black NB8B viewtopic.php?f=57&t=58136
1986 Mazda Luce Royal Classic (13BT Mazda 929)

User avatar
Lokiel
Forum legend
Posts: 4126
Joined: Thu May 28, 2009 2:39 pm
Vehicle: NB SE
Location: Brisbania

Re: Eric's NB8B MX5! My Automotive Journey

Postby Lokiel » Sun Aug 10, 2014 10:32 pm

Congrats on the purchase, NA/NBs are a great car and perfect for DIYers like you obviously seem to be and are a helluva lot of fun, even just going to the shops - the long way.

I'm not surprised that the EVO Recaro seats fit since the MAZDASPEED seats are Recaros too and look to be very similar:
Image
- these are only available 2nd hand from Japan and haven't been made for years now so knowing that EVO seats fit too means that there are newer (and more plentiful) options available to NA/NB owners.
- a word of warning though, these seats tend to get crush-spots on the rear when pushed back where they contact the seatbelt retainer.
Don't worry about dying, worry about not living!
Garage Thread: http://www.mx5cartalk.com/forum/viewtopic.php?f=57&t=76716

User avatar
Black_Penguin
Racing Driver
Posts: 726
Joined: Thu Jun 03, 2010 5:30 pm
Vehicle: NB8A
Location: Ulladulla, South Coast NSW

Re: Eric's NB8B MX5! My Automotive Journey

Postby Black_Penguin » Sun Aug 10, 2014 10:57 pm

Another thing is the mania intake won't work on a NB8B, the intake would have to go through the ABS module.
My Garage Thread WP 1:16.1 SMSP South 1:10.0 WSID 15.6

hoffydoodle
Learner Driver
Posts: 22
Joined: Thu May 22, 2014 3:19 am
Vehicle: NB8B

Re: Eric's NB8B MX5! My Automotive Journey

Postby hoffydoodle » Mon Aug 11, 2014 1:18 am

meanmx wrote:Big writeup. Welcome!!

Didn't want to be the one to do this but it looks like your roof is fitted incorrectly. The rear frame should sit at the seam. It has springs on one side and strap on the other to hold it in place. Good luck.


I have since fixed that up. I knew something didn't look right. hahahah!

Okay, done some DIYing the other day (thursday) and deciding to refurbish the rims as they have gutterash on all four rims! Only did the two rear rims as a test to see how they turned out(going to do the front tomorrow) and here's the process I went through:

Here's all the products I used!
Image

Started off with giving the wheels a thorough scuff and degreaser masking off the rubber:
Image

Bogged
Image

Went half way with wet sanding but took too long so just continued with dry sanding
Image

All sanded back!
Image

2 to 3 coats of Primer filler(SCA brand is made by dupli-colour so it isn't el'cheapo stuff)
Image

And 2 to 3 coats of paint :)
Image

They turned out real good, just haven't got a photo of them in the daylight. Will do tomorrow when I finish the front ones.
Eric.


Return to “MX5 Garage Chat”

Who is online

Users browsing this forum: No registered users and 14 guests